Microsoft Dynamics 365 for Talent is part of the suite of Dynamics 365 business applications. It is designed to amalgamate multiple HR functions into one solution, empowering HR teams with the tools they need to hire the best candidates and promote development within their organisation. To ensure you hire the best candidates for the job – you need to create an effective job advertisement.
This blog post will take you through each step of creating an effective job advertisement in Dynamics 365 for Talent. We have also created a video guide on this topic – which you can view here.
1. Accessing Microsoft Dynamics 365 for Talent
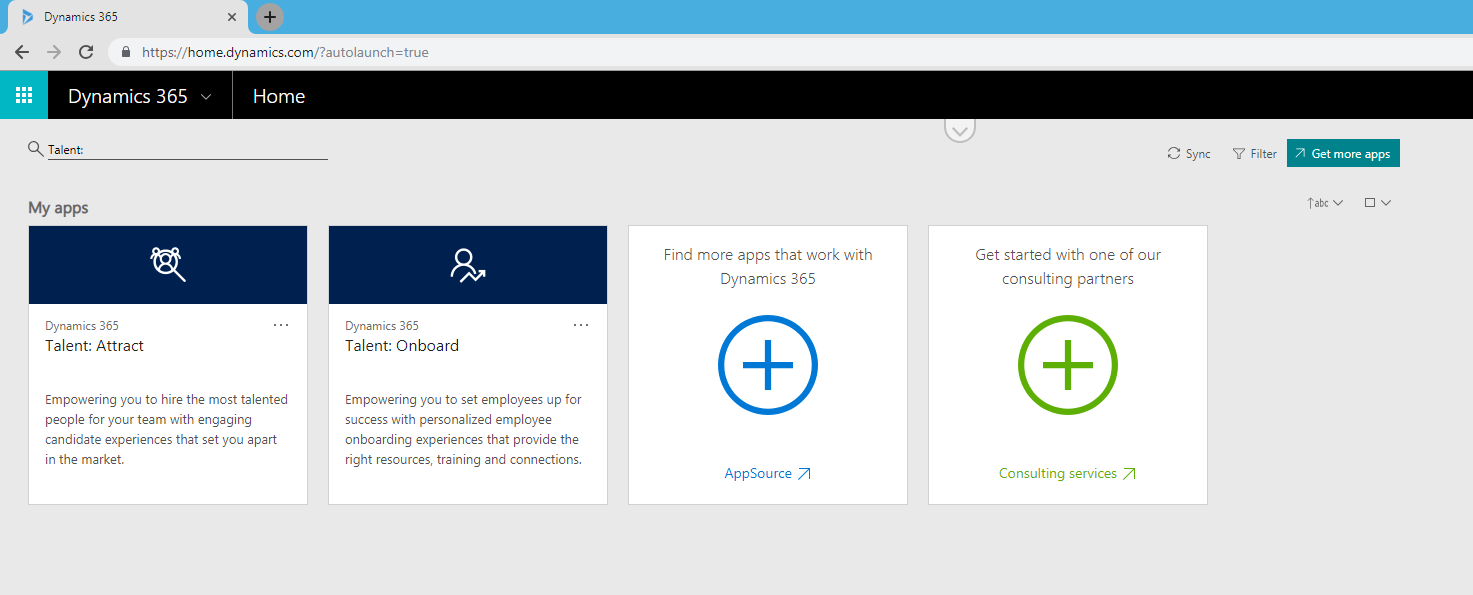
The first step is accessing the application, this can be done by going to http://portal.office.com or https://home.dynamics.com/ then going to the Talent: Attract
2. Go to the job tab inside the Attract application
Once you’re in the application, head from the main dashboard to the jobs tab on the left-hand side (arrow 1). This is where you’ll be able to see all the active jobs you have listed, there’s currently none at the moment but if we click the new job button in the right-hand corner (arrow 2) we will be able to create a new job listing.

3. Adding the job
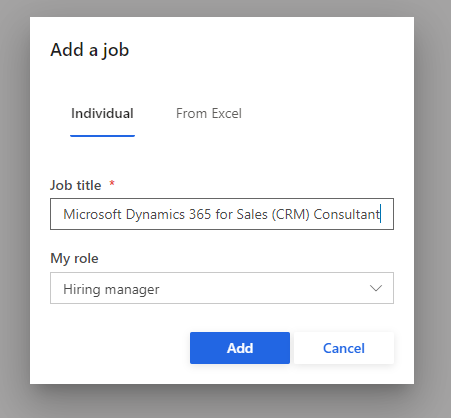
After clicking the new job button, a screen will appear that allows you to either create an individual job listing or import from an Excel sheet. For an individual job you can enter the job title, for this
4. Selecting a template
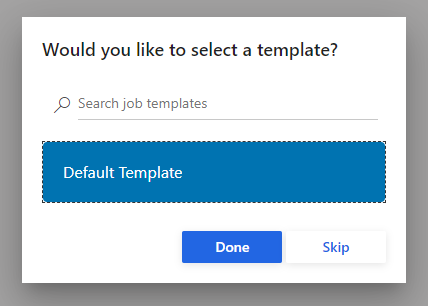
After clicking the add button, another screen will appear asking you to select a template. We haven’t got any templates saved so for our example we’re just using the default. However, if you have your own specific process for hiring people to your organisation, you’ll be able to save templates in order to make the job creation easier and maintain consistency.
5. Filling out the job details
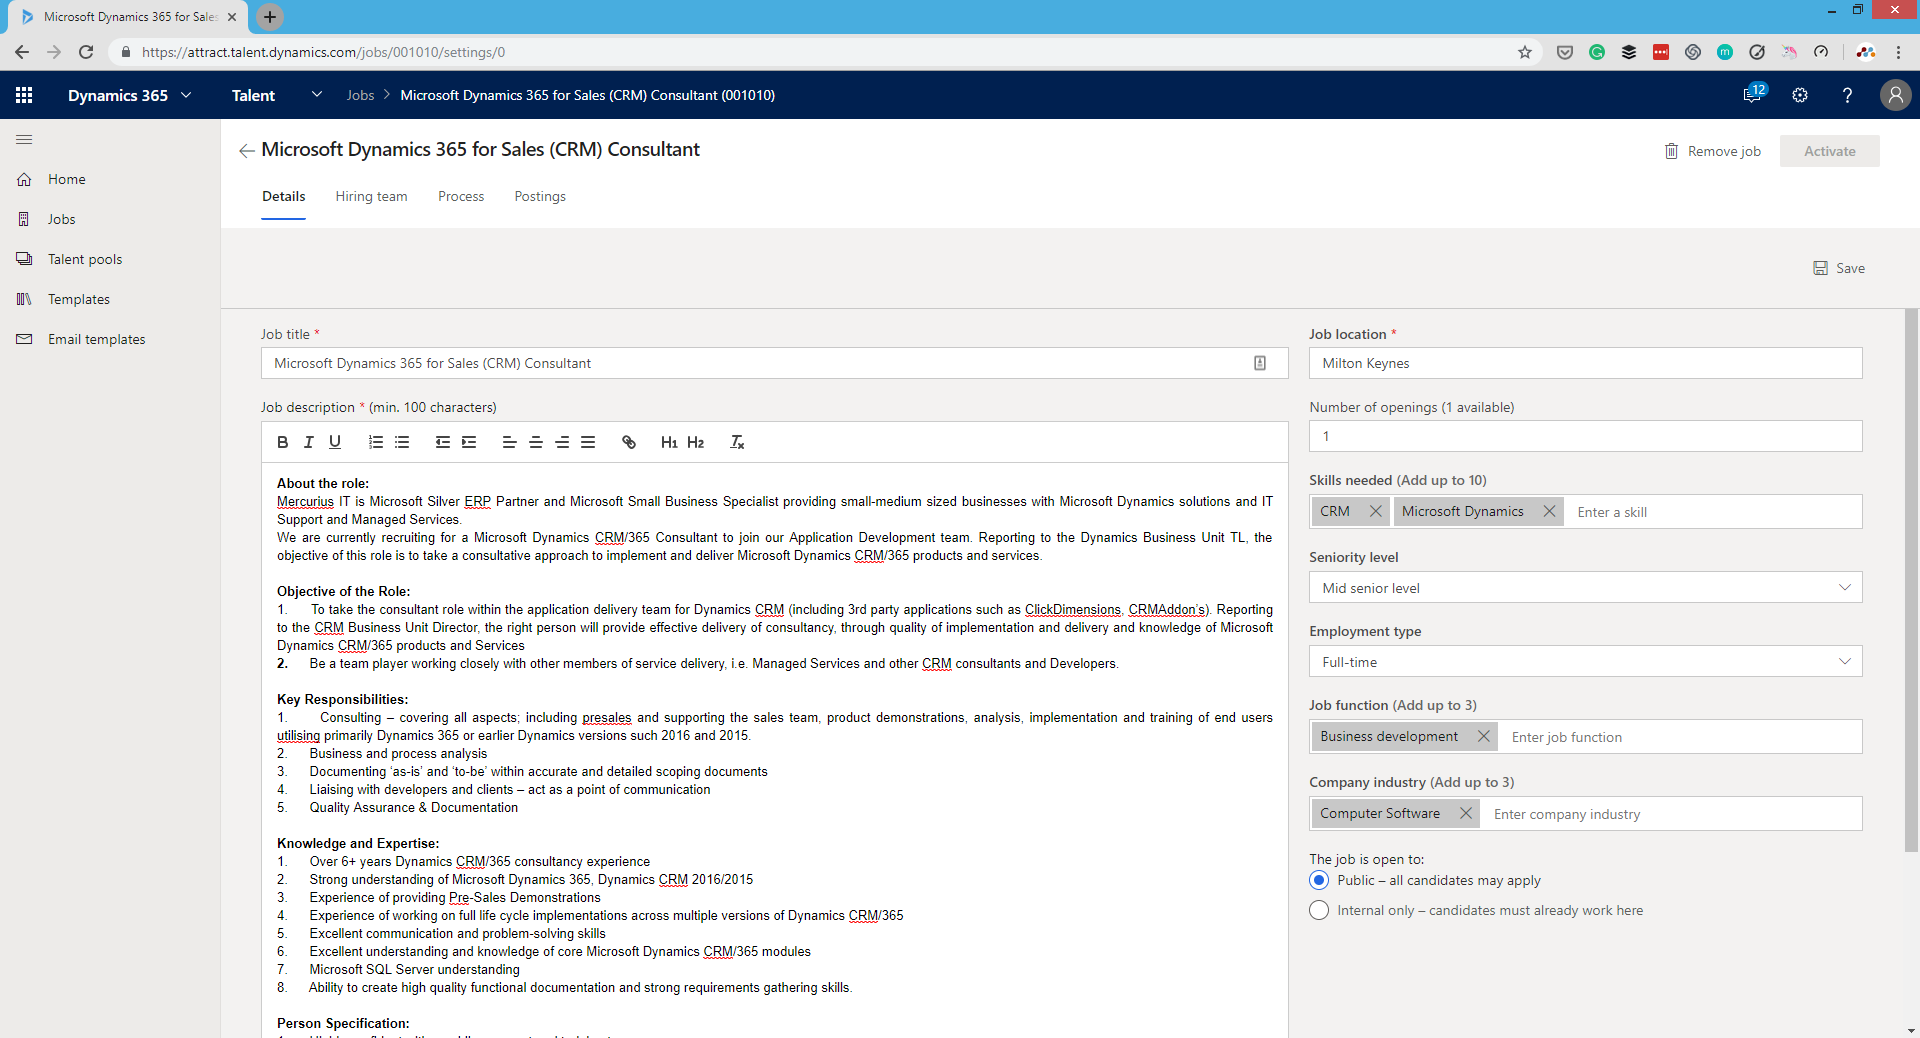
After selecting your template, a new screen will appear that allows you to enter all the necessary information about the job. The job title is already filled out as this was specified at the start, but it gives you space to enter a job description and other fields for:
- Job location
- Number of job openings (if there is more than one)
- Skills required (enter up to 10)
- Seniority level (Internship to Director level)
- Employment type (full-time, part-time, etc)
- Job Function (enter up to 3)
- Company industry (enter up to 3)
- Public job (open to anyone) or internal only (work in the organisation already)
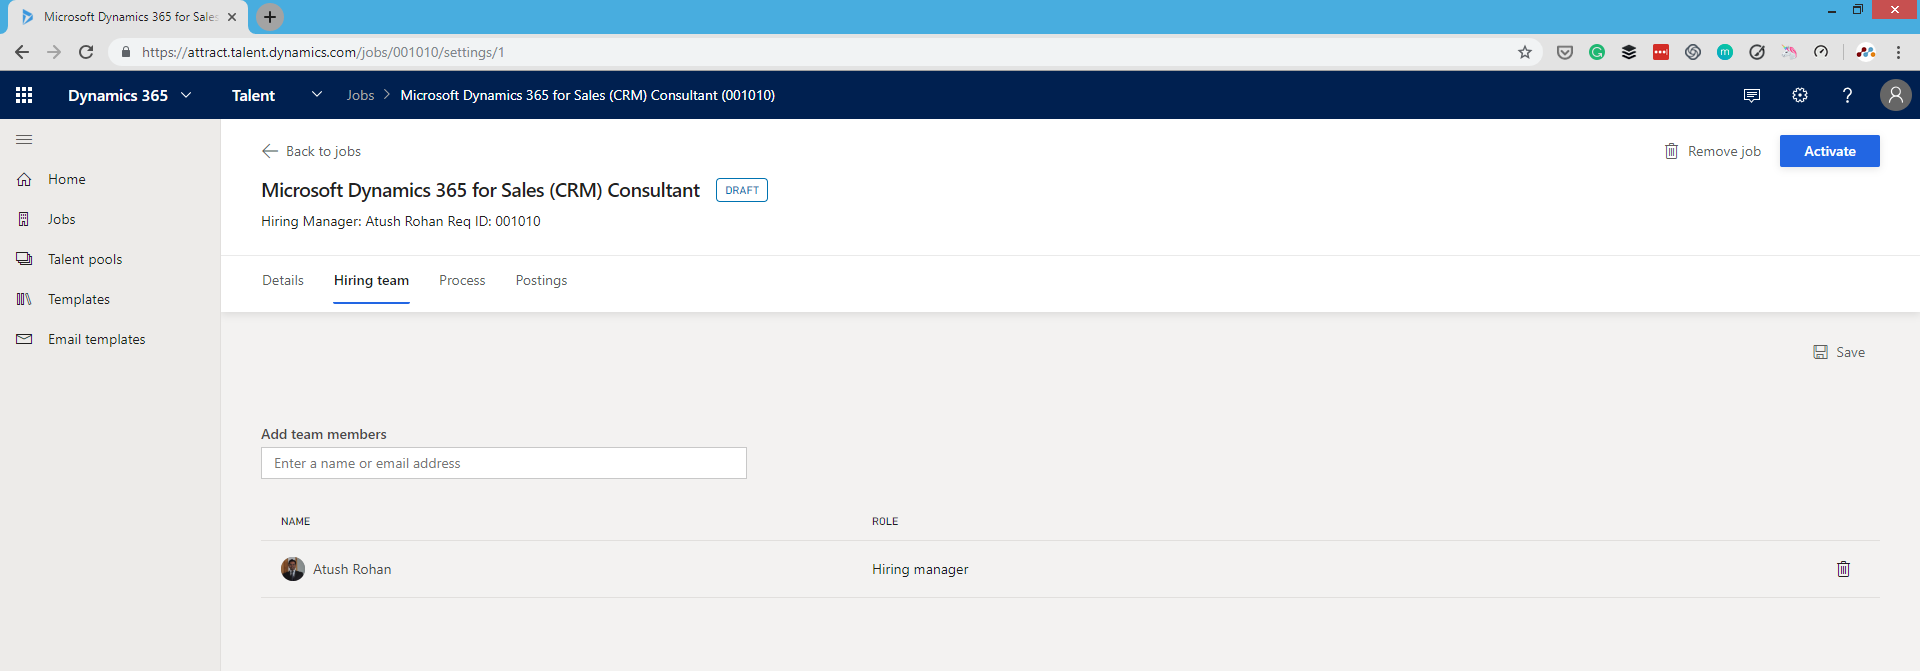
6. Defining your hiring team
Once you’ve filled out your job details, the next step is to define your hiring team. If there are multiple people involved in the hiring process then you can add them all here to ensure they’re in the loop and there is visibility throughout the entire process.
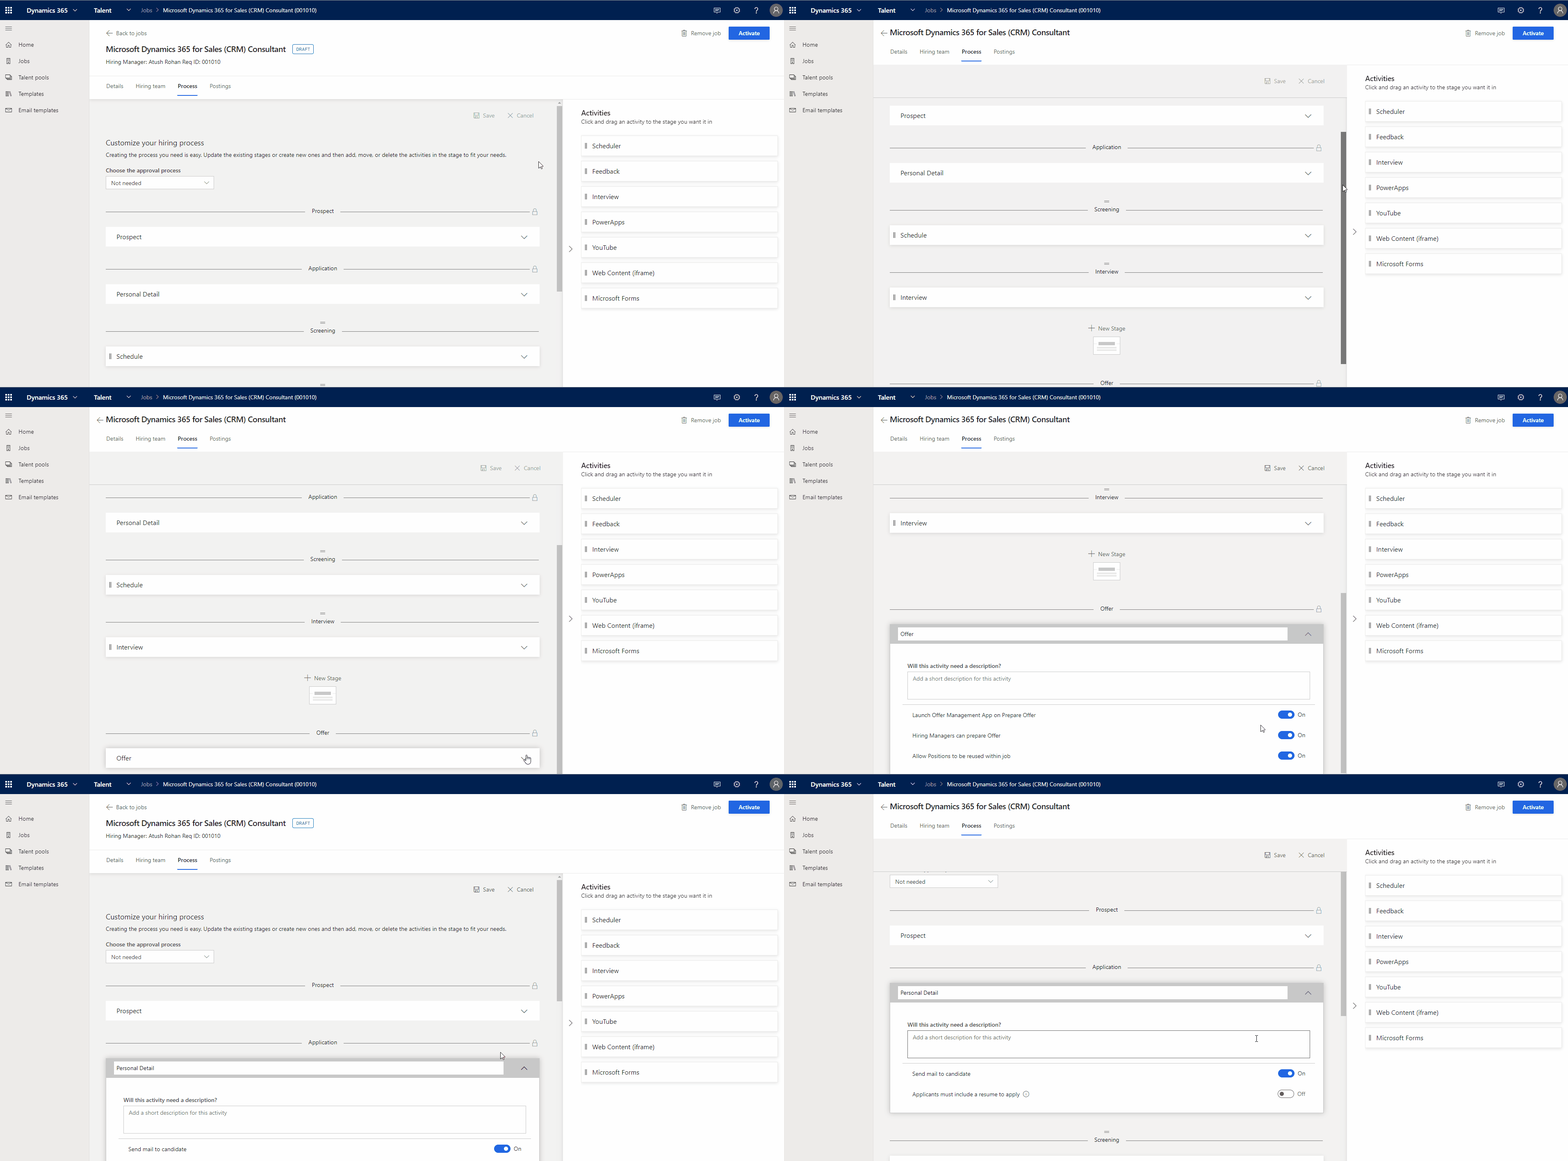
7. Creating your customised hiring process
This step is where you can create your own customised hiring process to ensure you have all the information and steps you need before the hire. The default process has 5 steps which are:
- Prospect
- Application
- Screening
- Interview
- Offer
Each of these steps can be customised to ensure it works for your organisations hiring process. You can also add a variety of different activities into the process to customise it further.
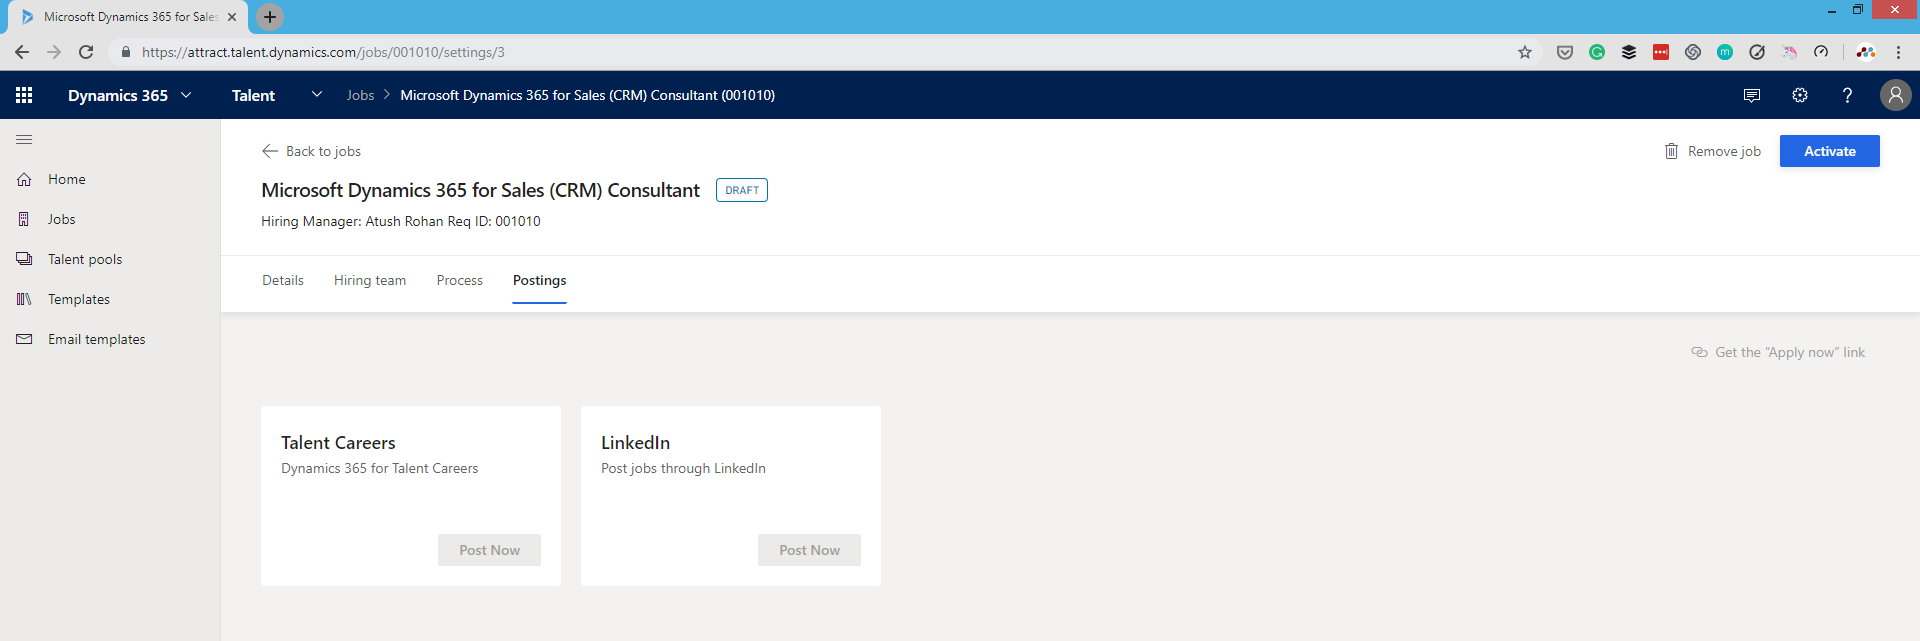
8. Posting your job advertisement
Now is where you post your job advert. You can post the ad to both a dedicated careers portal, hosted through the Talent app and also to LinkedIn. Posting your job ad to LinkedIn extends the reach and puts it out there to a community of 500+ business professionals. To post the ad, click the activate button in the top right corner, then select the post now button and get ready for candidates to start applying.
So that’s how easy it is to create and post a job advertisement in Microsoft Dynamics 365 for Talent. The whole process can be completed in around 5-10 minutes and help you get the best candidates applying for your organisation.
If you’d like to learn more about Talent, please visit our web page or blog posts about the solution or get in touch for a no-obligation chat or demo of the product.


